Flashing the PCCB Raspberry Pi Industrial Compute Module Carrier Board using a Windows computer
The PCCB is our Raspberry Pi Compute Module carrier board with industrial interfaces:
I will describe how to flash the PCCB flash using a Windows Computer.
Prerequisites
- USB power supply (or DC power supply)
- PCCB
- compute module with on-board flash (Raspberry Pi Compute Module Lite variants do not have Flash on board)
- microUSB to USB cable (note: some microUSB cables do not carry data! If these instructions do not work, ensure that your cable does data and power)
Insert the compute module you want to flash into the PCCB.
Software installation
Raspberry Pi rpiboot Software
The PCCB needs to boot using your host computer’s help. For this you will need to install a special utility.
Download and run the Windows installer from this URL:
https://github.com/raspberrypi/usbboot/raw/master/win32/rpiboot_setup.exe
Raspberry Pi’s website also points out: “Please ensure you are not writing to any USB devices whilst the installer is running.”
Raspberry Pi Imager
Please download and install Raspberry Pi Imager from the following URL:
https://www.raspberrypi.org/downloads/
Select the Windows version.
Note: do not run it just yet, or close it if it starts, we will boot the hardware first.
Connect the hardware
Connect the microUSB cable to the USB OTG port (U$13 on older board revisions). Connect it to your desktop computer on the other end.
Plug in the power cable to the USB power in (U$72 on older board revisions), or use the DC connector to power the PCCB.
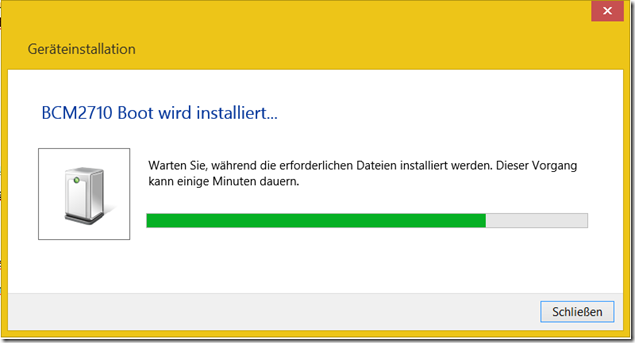
At this point (the first time you use this particular USB port), a new device will be installed on Windows:
Start rpiboot
Start rpiboot from your Windows start menu:
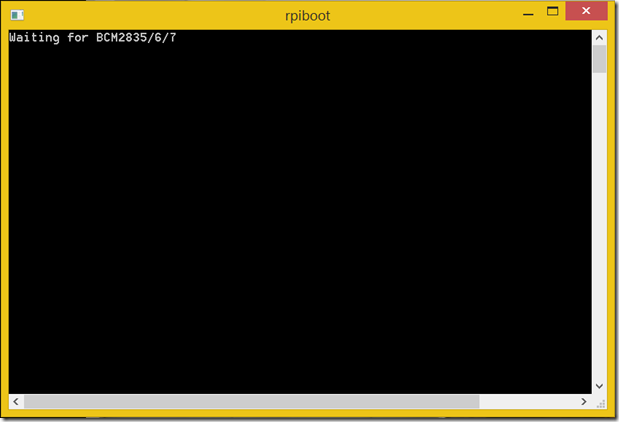
rpiboot will show in a black terminal window, and tell you that it is waiting for compute modules (BCM2835 / BCM2836 / BCM2837 are the BroadCom SoC numbers):
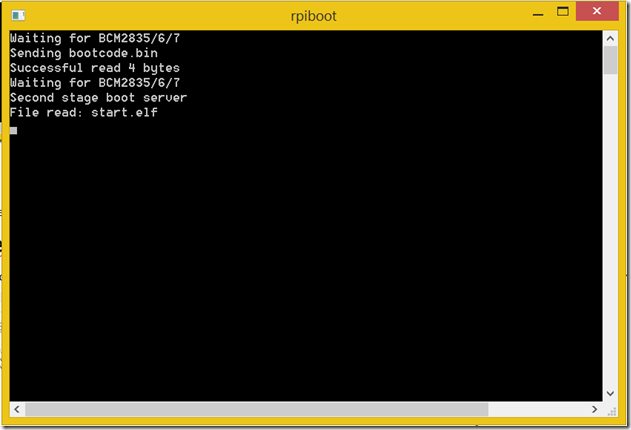
it should quickly proceed to boot the PCCB:
The window will close by itself, and a new drive will now appear (additional dialogs showing that new hardware is being installed may appear).
Inspect the new drive
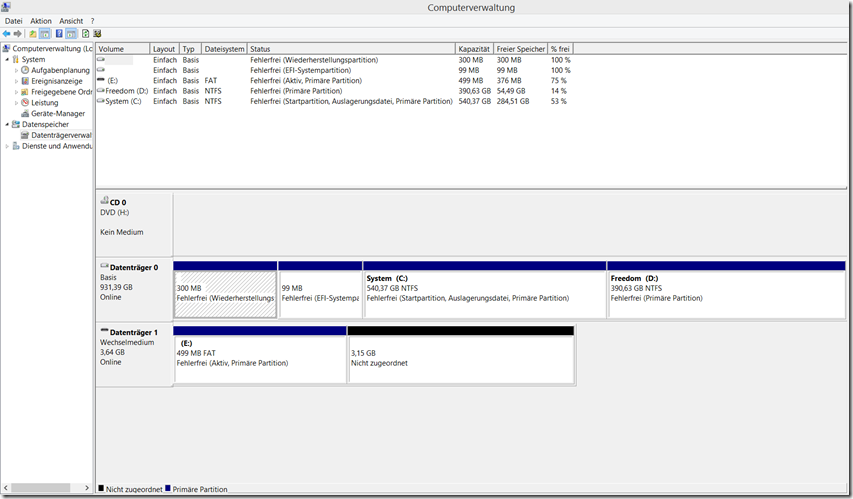
You can use the Windows Computer management utility (Computerverwaltung in German), and here click on Disk Management (Datenträgerverwaltung in German) to see the new drive and it’s partitions:
As you can see, the drive consists of two partitions in this particular case.
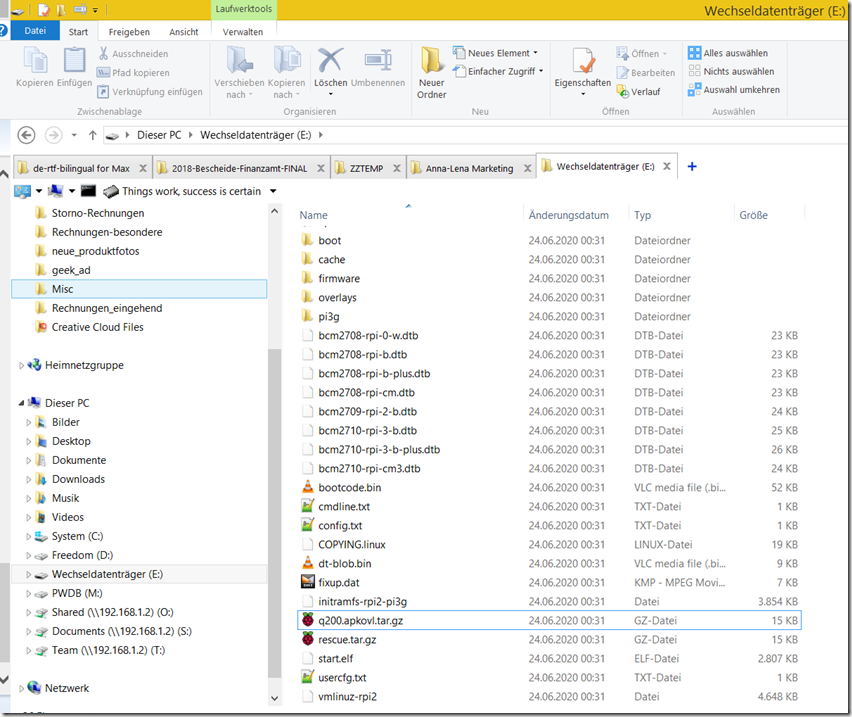
As usual, the first partition is a FAT partition. You can open and inspect it in Windows explorer:
You can treat the PCCB / Flash as you would treat any other mass storage device, now. Please also keep in mind to safely remove it, once you are done!
Writing an image
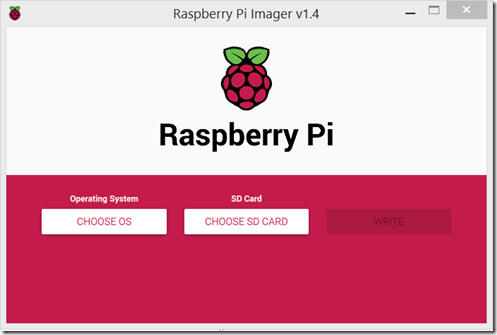
Start Raspberry Pi Imager to write an image:
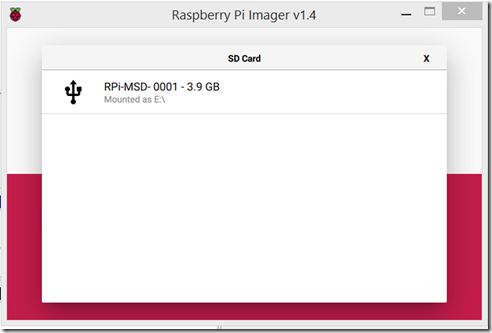
Click the button “CHOOSE SD CARD”, and select the compute module flash mounted before:
Attention: be careful to select the correct device / drive! Otherwise you might loose data!
Note: if no drive appears here, it might be necessary to create a partition using the Disk Manager tool mentioned above.
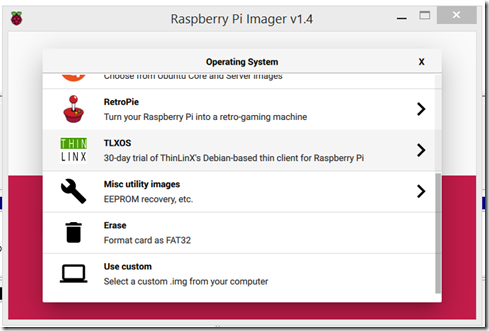
Click the button “CHOOSE OS” to select an OS. If you want, you can write one of the offered images, (please note that you should install the device tree for the PCCB to work properly), or select a custom image.
Select the “Use custom” option.
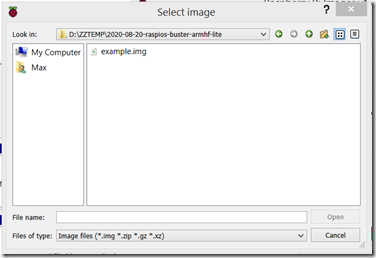
Use the dialog to browse for an .img file on your computer.
(Note: my network drives do not show up with this tool – therefore you need to copy the image to your local drive first in all likelihood).
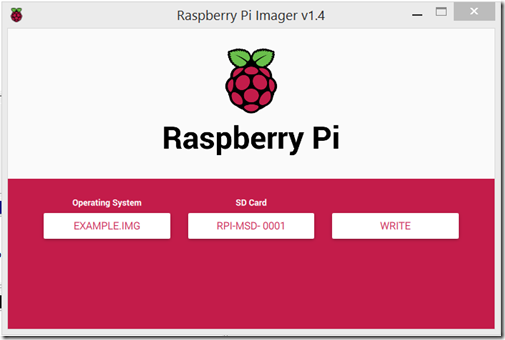
The “WRITE” button should now become available:
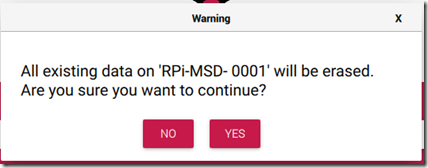
Click it, and click YES:
You will see a progress bar showing the current state:
After writing, the Raspberry Pi Imager will verify the image.
Please be patient for big images – due to the USB 2.0 connection this will take some time.
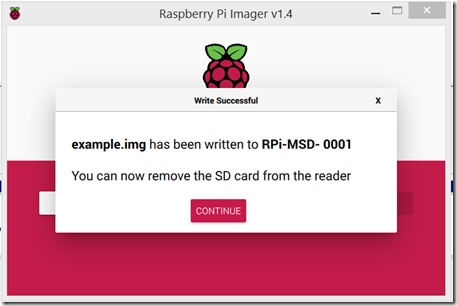
Finally, it will show you if everything was OK:
Click on Continue.
Note that Raspberry Pi Imager will unmount the flash for you.
Unplug the PCCB
If the flash is still mounted, be sure to safely eject it using the default Windows procedure.
Unplug the microUSB cable, and then unplug the power cable (or press the RESET button to do a power cycle on the PCCB).
The image is now on the Flash, congratulations!
Bonus
DiskInternals Linux Reader will be able to access Linux partitions as well:
https://www.diskinternals.com/linux-reader/
Using this tool you can inspect Ext2 / Ext3 / Ext4 / ReiserFS / HFS / HFS+ / NTFS / FAT / exFAT partitions, and copy files from it.
Please check their license – it is non-commercial freeware.
As you can see in this screenshot, the physical drive 0001 is the PCCB with a 4 GB Compute Module.
It has two partitions – the boot and a Linux ext Volume, which you can proceed to inspect:
Note – this is usually not necessary on Alpine Linux images for the Raspberry Pi, since the whole system resides in the FAT partition and operates in the RAM.
Ref
- https://www.raspberrypi.org/documentation/hardware/computemodule/cm-emmc-flashing.md
- https://www.raspberrypi.org/downloads/raspberry-pi-os/
- https://www.raspberrypi.org/blog/raspberry-pi-imager-imaging-utility/
- https://www.diskinternals.com/linux-reader/
Note:
If you want to create an image from your Pi as well, you could try Win32DiskImager – however the tool stopped working on my desktop for some reason.

