NIS 4 Pi
The adapter between Raspberry Pi and breadboard

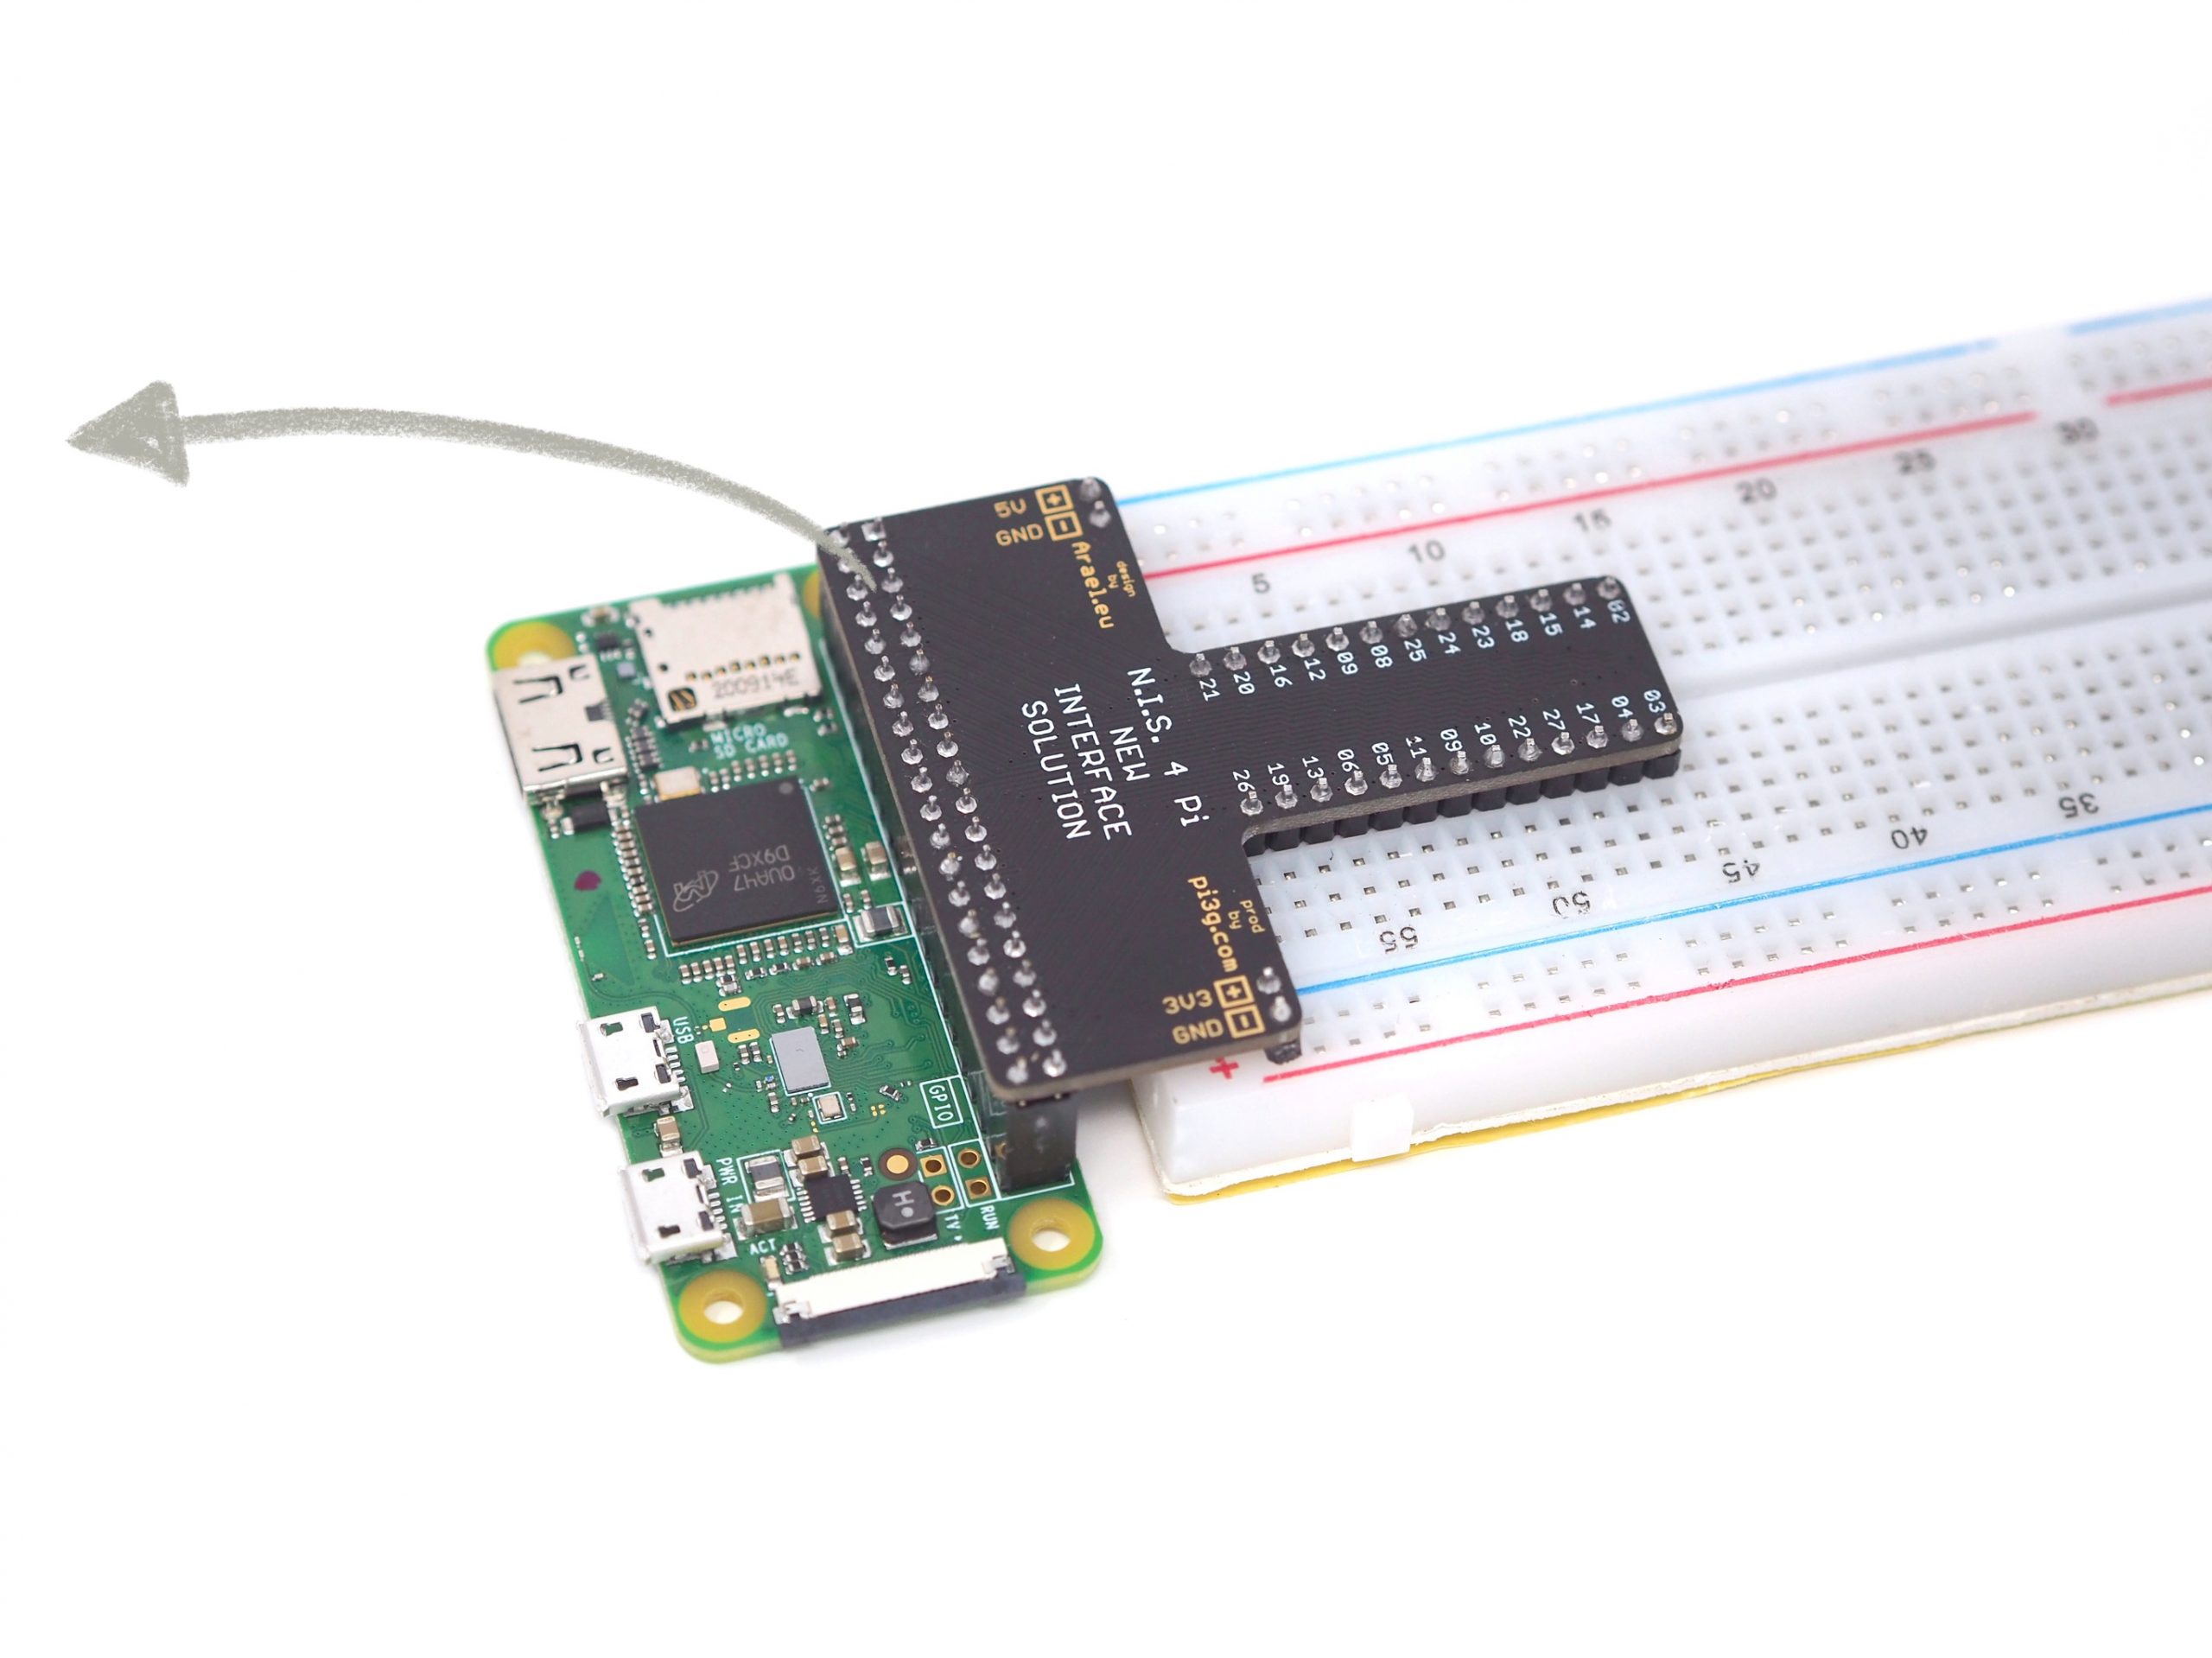
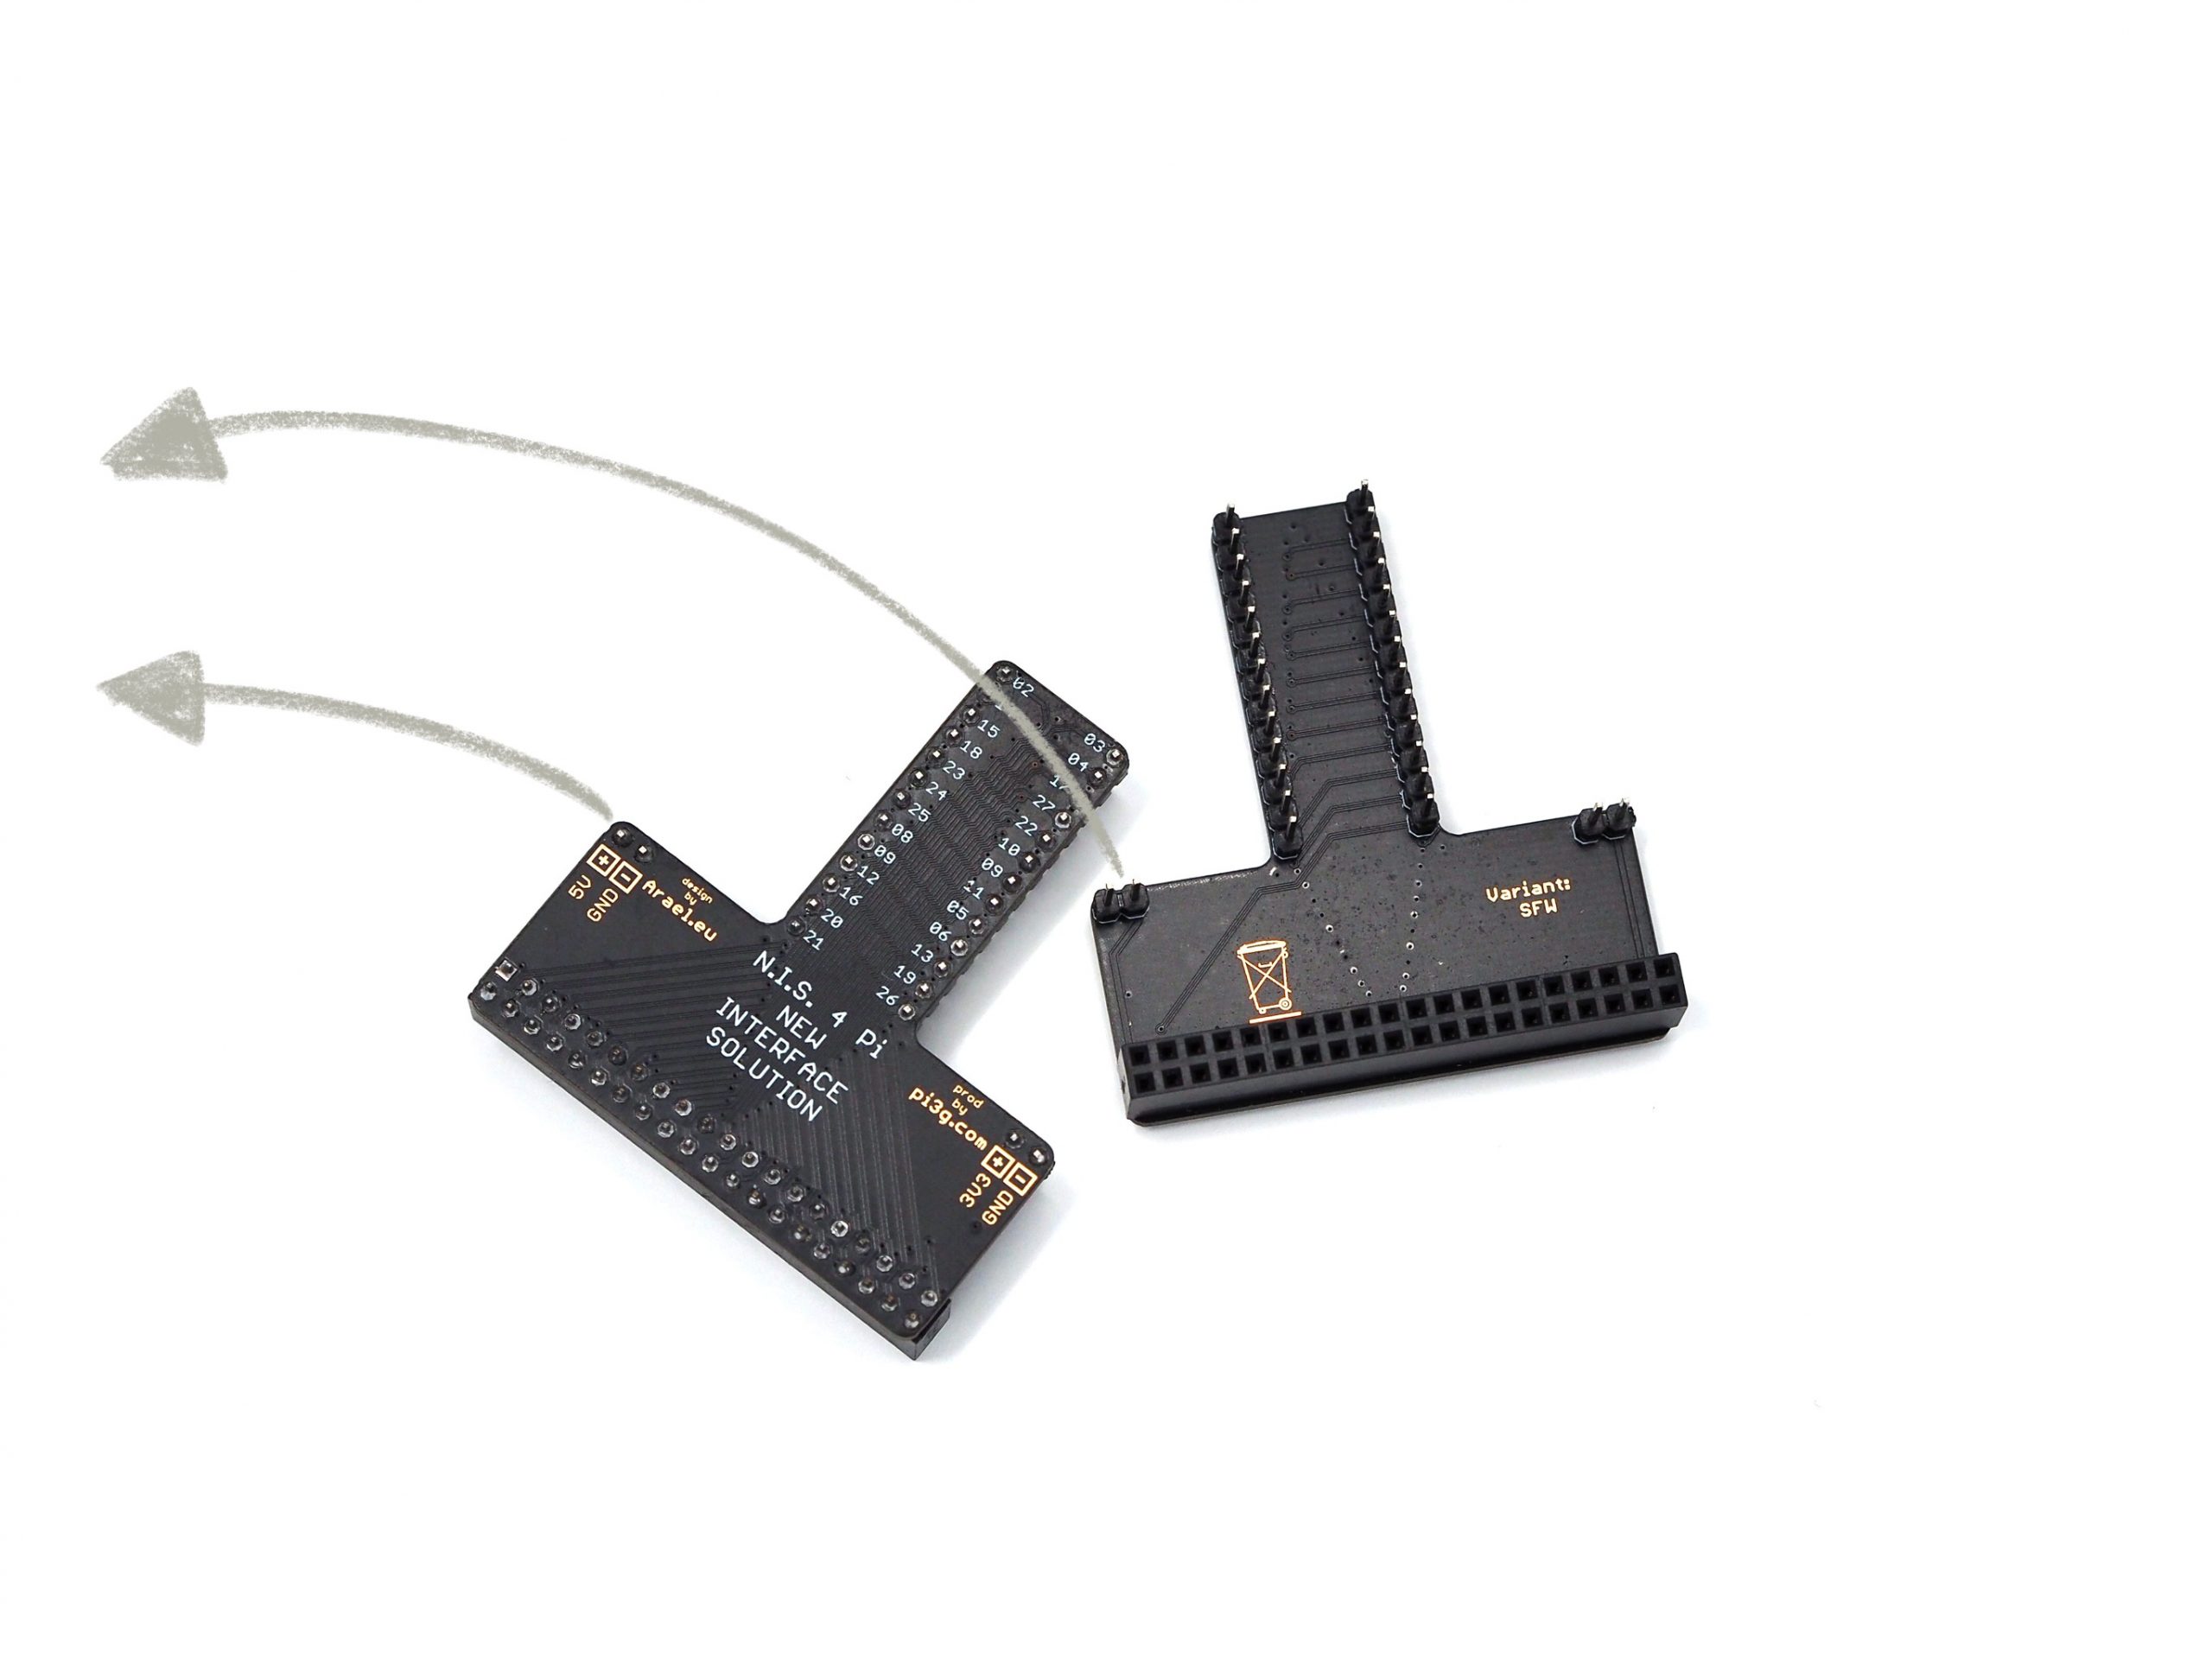
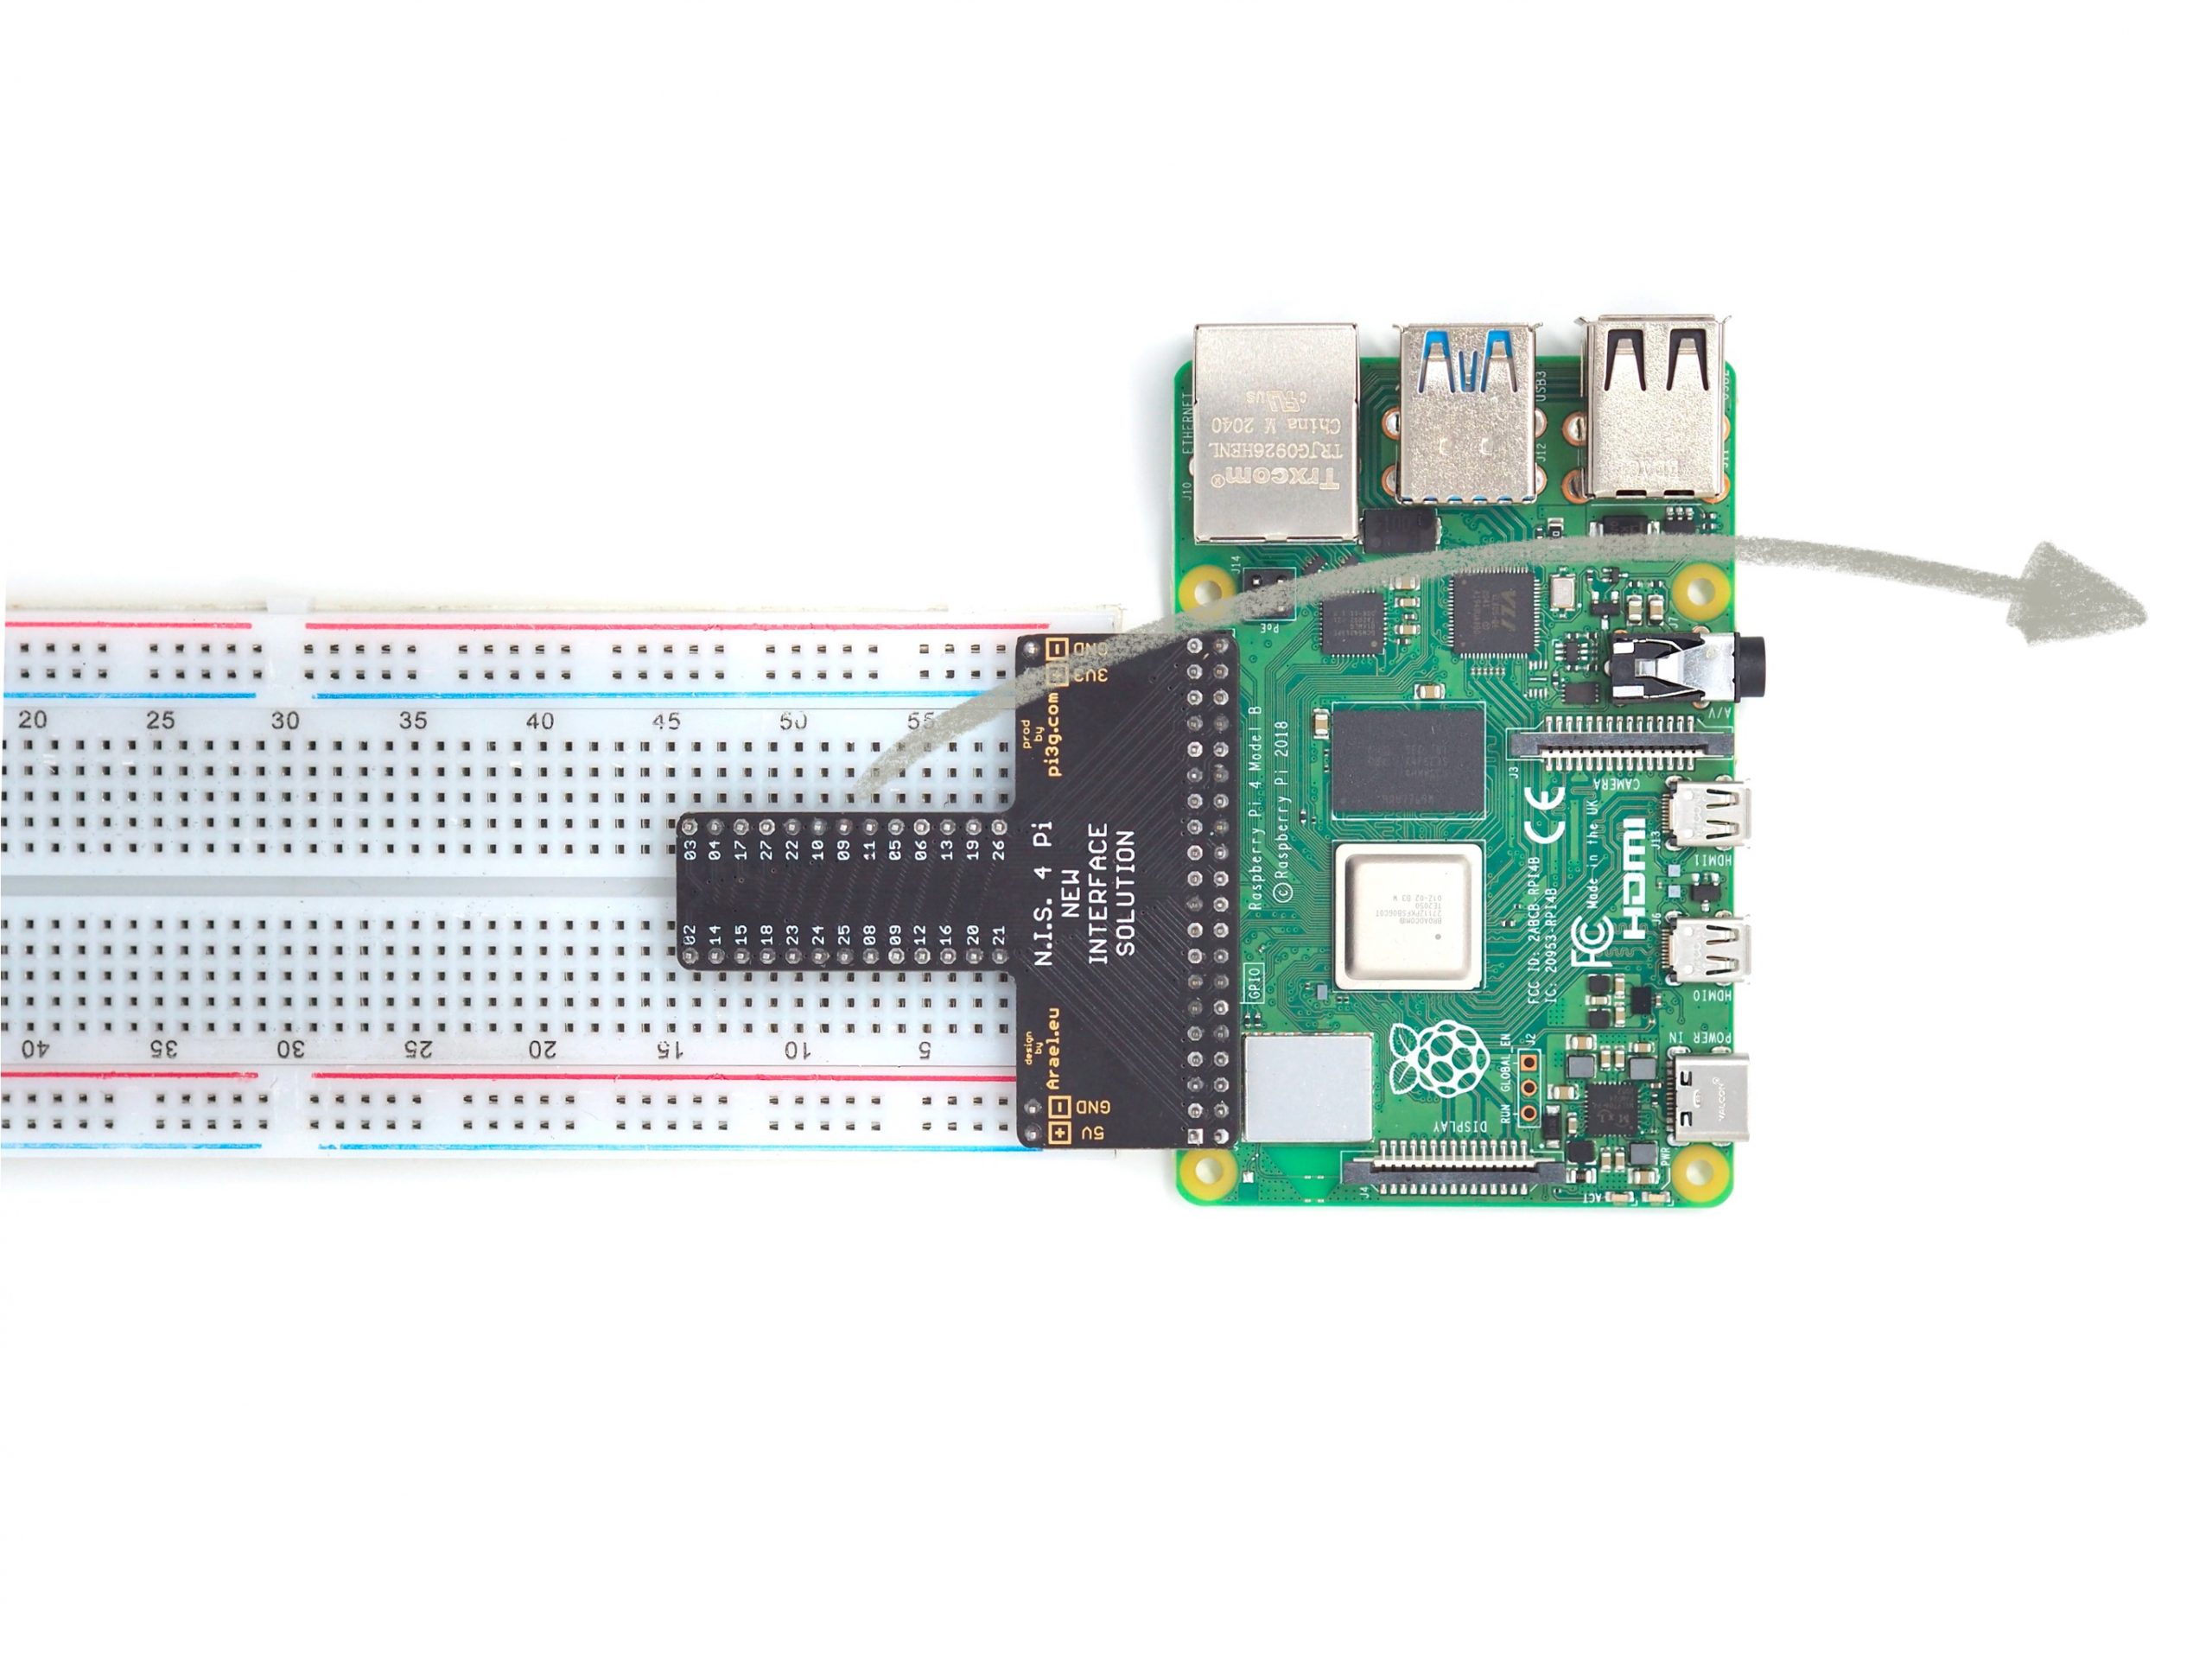
The adapter is rigidly connected to the Raspberry Pi via the 40x female connector strip and thus offers a wobble-free and stable setup


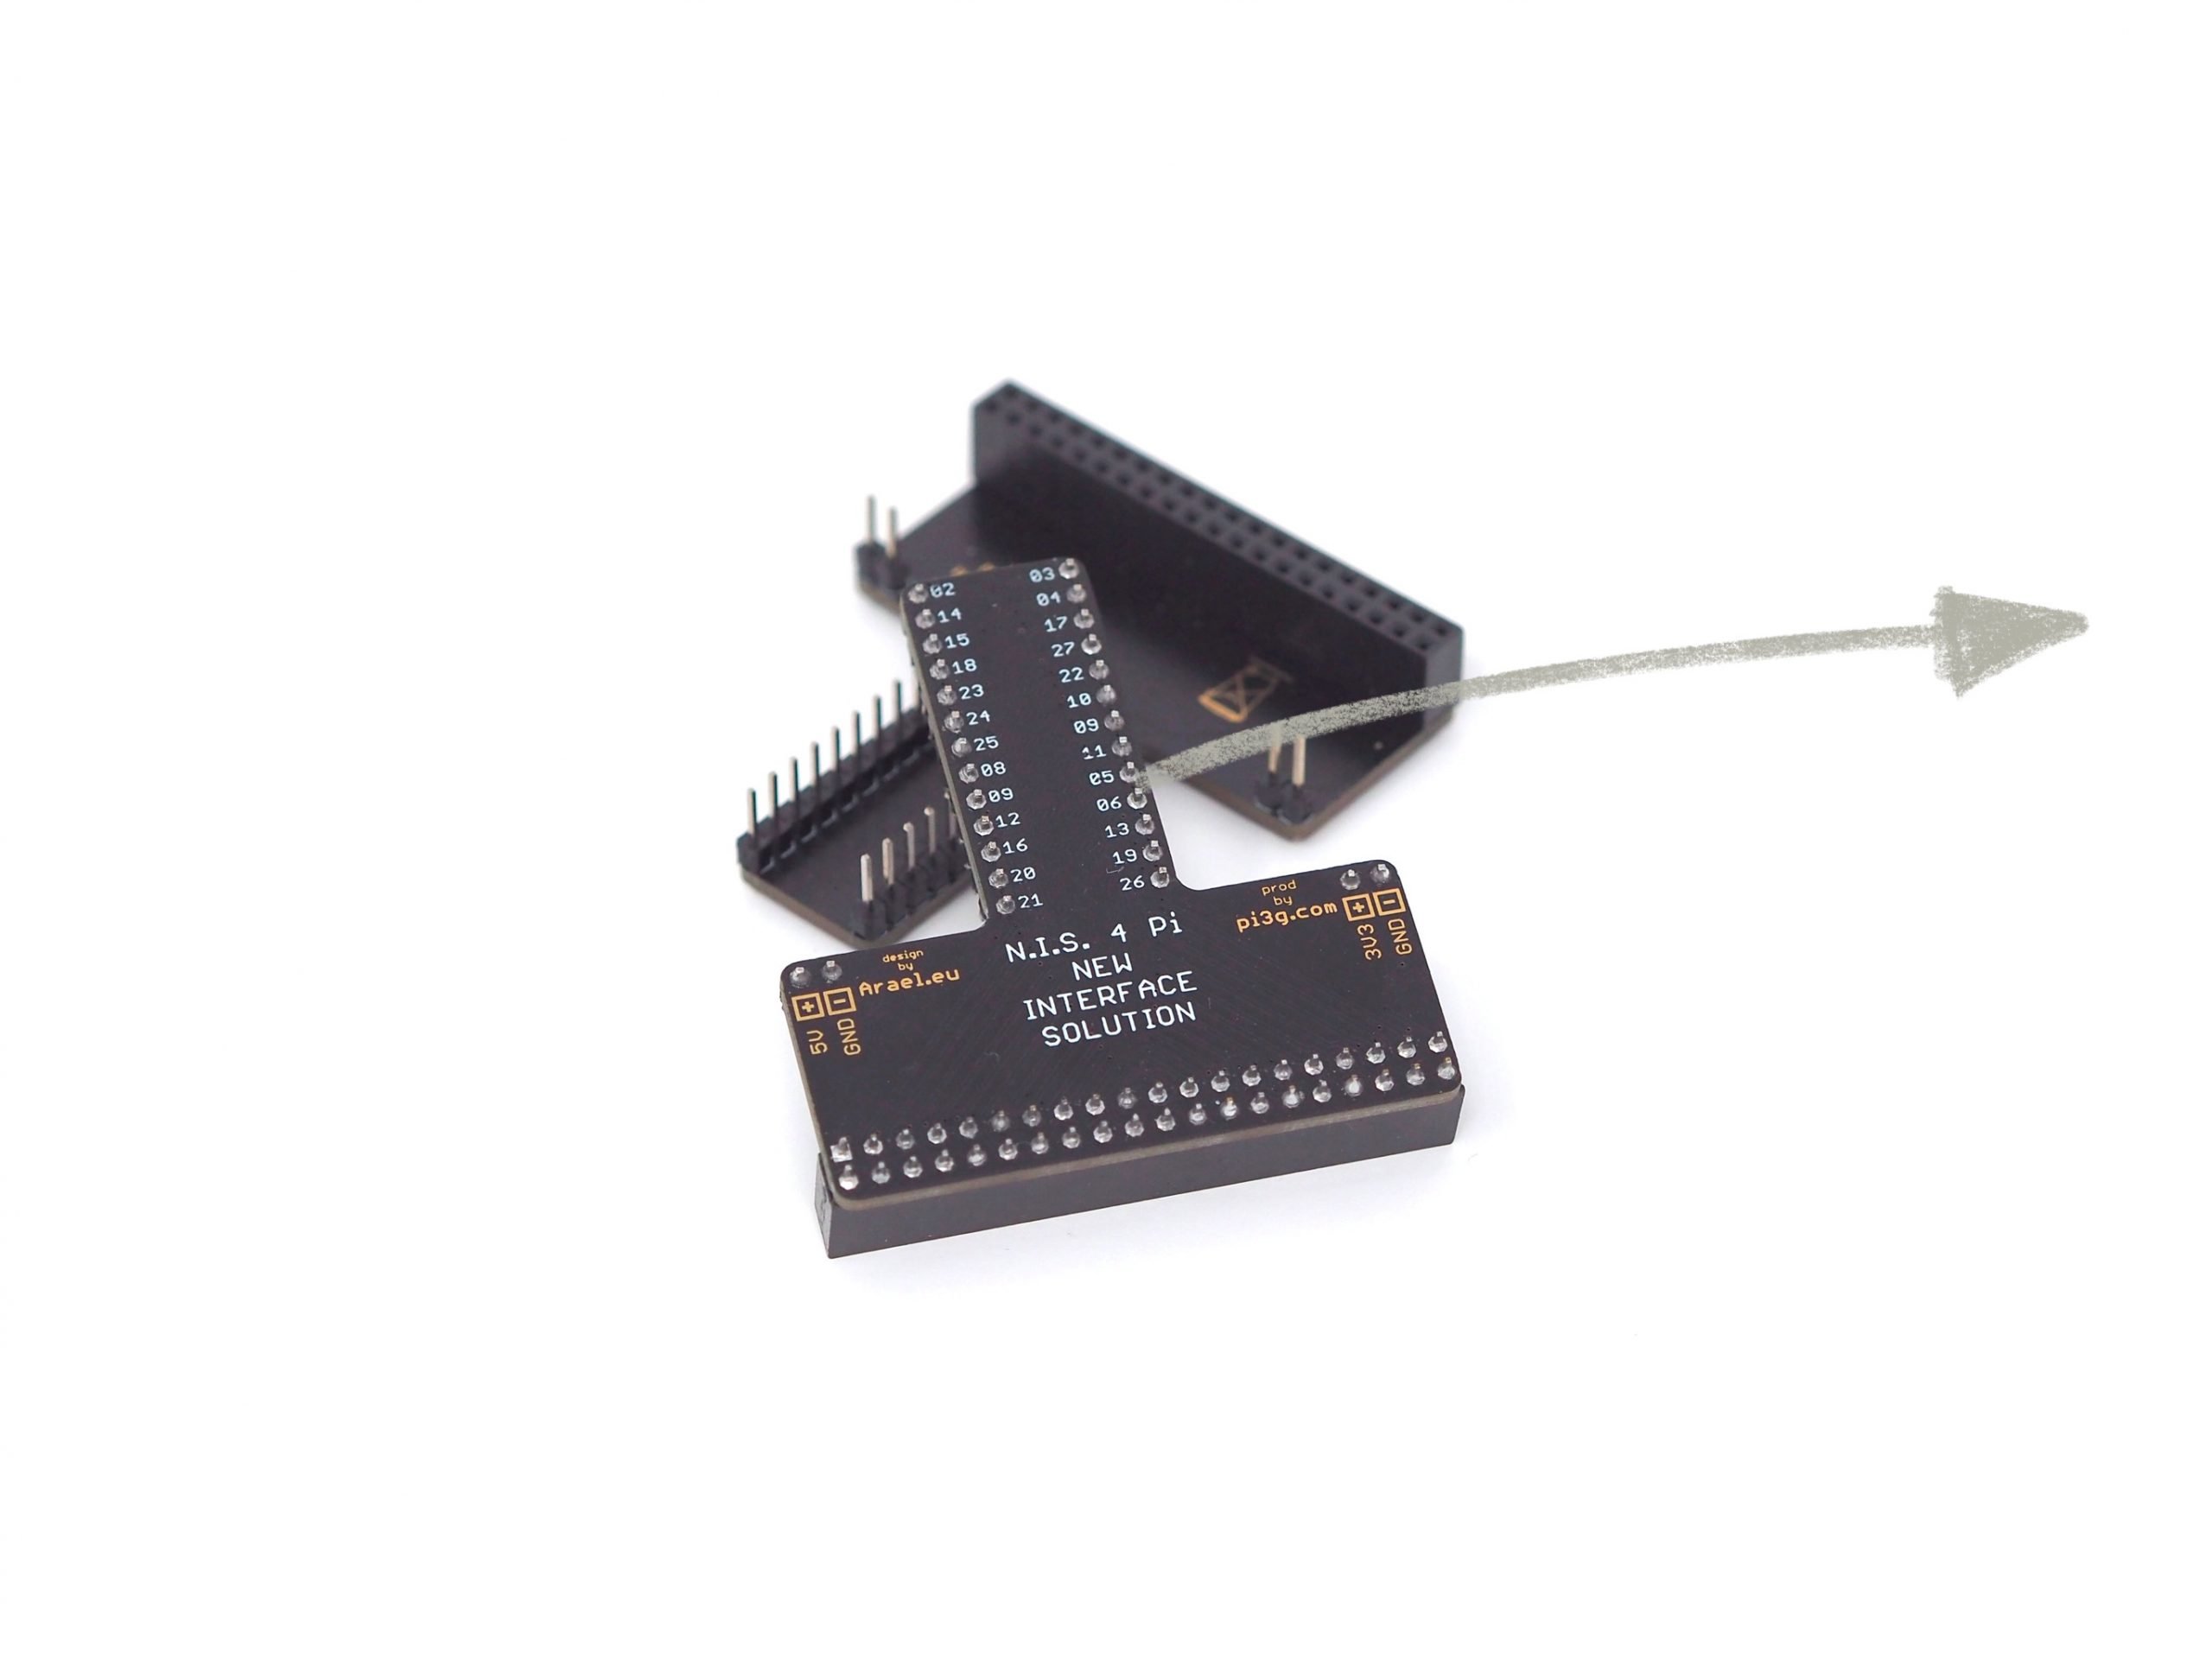
Thanks to the labeling on the board for each pin, identifying the connections on the breadboard is very easy
The two voltages, 5V and 3V3, are brought out with a GND (Ground) to the breadboard strips on both sides - this considers "shifted" and "not shifted" voltage strips on the sides and is therefore compatible for most breadboards


Visually appealing, the routing of the traces creates a kind of tree in the middle of the board
- developed in Germany
- assembled and soldered in Bavaria
Hint:
When plugging in the adapters, please plug them in a "circular motion". The pins near the Pi header should be inserted first into the breadboard and the pins which are farthest away from the Pi header should be inserted last into the breadboard. Due to the circular movement the supply pins bend very easily, this is intentional and allows compatibility for both breadboard types.

